Changing the Clear Coating Settings
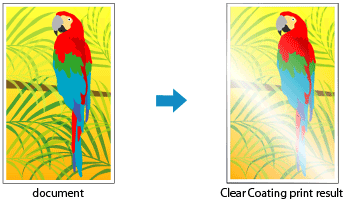
When you perform clear coating, the printer applies chroma optimizer (CO) ink onto the printing surface and allows you to adjust the glossiness.

Open the printer driver setup window
Select the manual color adjustment
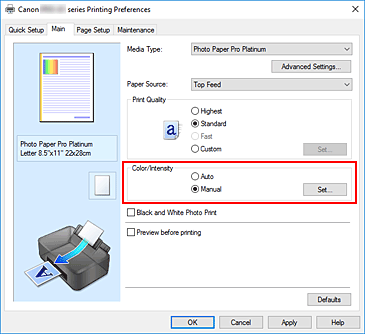
On the Main tab, select Manual for Color/Intensity, and click Set....

The Manual Color Adjustment dialog box opens.
Setting the clear coating area
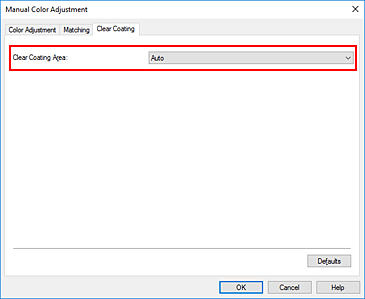
Click the Clear Coating tab, select the Clear Coating Area item that matches your purpose (see below for the selections), and then click OK.

- Auto
-
The printer automatically sets the areas to be clear-coated and whether clear coating is to be performed.
It may be possible to reduce the ink consumption of the chroma optimizer (CO) or to accelerate the print speed. - Overall
-
The printer clear-coats the entire print area.
If selecting Auto produced unsatisfactory clear coating effects, selecting Overall may improve the results.
 Important
- On the Quick Setup or Main tab, look at Media Type. If a media type other than Photo Paper Plus Glossy II A, Photo Paper Pro Platinum, Photo Paper Pro Luster, Photo Paper Plus Semi-gloss, Photo Paper Pro Crystal Grade, Lightweight Photo Paper, Heavyweight Photo Paper, or Baryta Photo Paper is selected, you cannot select Overall.
- If Overall is selected and the media type is changed to one that cannot use Overall, the clear coating area setting is changed to Auto.
Click OK
When printing is performed, the clear coating effect that was set is added when the document is printed.

